If you are immediately hooked by seeing how fluid and unpredictable alcohol inks are, it can feel like minutes between discovering alcohol inks through to sorting out what colours to purchase.
But for those who’ve stumbled into the world of alcohol inks, it might not be obvious at first that there are other items, in particular certain liquids, that play a huge part in the fun and allow you to get the most out of the inks themselves. Here is an introduction to alcohol ink, the what’s what and why list for those you want to get started!
When starting anything for the first time, it is so easy to be overwhelmed with the information, tips and tricks but there is also the flip side, you don’t know what you don’t know so here is what you need to know to get started so you can ‘fast forward’ through this step and then focus on the colours you want to purchase!
Liquids to use with Alcohol Inks
-
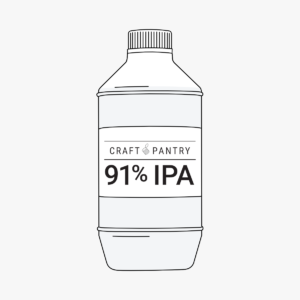
91% Isopropyl Alcohol (IPA or Isopropanol) 1-Litre
$14.95Out of Stock
Read more -
100% Isopropyl Alcohol (IPA or Isopropanol) 1-Litre
$14.95Out of Stock
Read more -
100% Isopropyl Alcohol (IPA or Isopropanol) 5-Litres
$39.95Out of Stock
Read more -
91% Isopropyl Alcohol (IPA or Isopropanol) 5-Litres
$39.95Out of Stock
Read more
Isopropyl Alcohol or Isopropanol Alcohol (IPA)
This is a must-have. When used together with alcohol inks they react and create really interesting effects on your surface. IPA allows alcohol inks to move. Without it, you end up with drops of concentrated pigment dots where they initially landed.
When IPA and alcohol ink are manipulated on the surface with tools like the Tim Holtz Air Blower or Ranger Heat It Craft Tool they help to create:
- Flow effects
- Blurred effects
- Bleach effects
Alcohol ink and Isopropyl Alcohol provide a level of unpredictability in your art process. You can’t plan exactly what you will create and I personally love that part. Sometimes for other mediums and crafts, starting can be the hardest part but alcohol ink and isopropyl alcohol on synthetic paper, tile or glass surface is very forgiving. You can rework again and again or wipe it clean with IPA and start over.
IPA between 91% – 100% is recommended because it has a rapid drying time which helps to achieve great effects in your art piece. Anything other than 100% has an amount of purified water added which slows the drying time on your work surface. There will be a reaction to 70% rubbing alcohol but when compared to 91 or higher, the effects are not as distinct or defined, and you may lose a look you liked while it dries as it will continue to bleed/blur/feather.
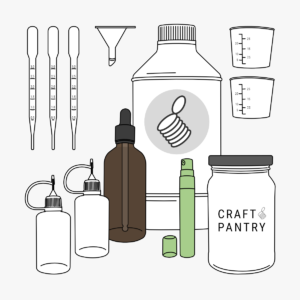
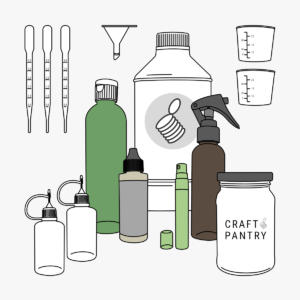
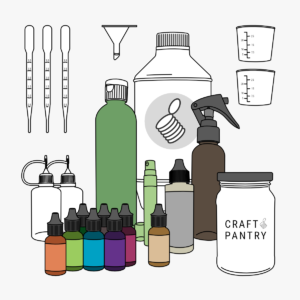
Some applicator tool types:
- Mini mister
- Pipette
- Measuring cup
- Fine-tip applicator bottle
- Splatter brush
- Felt Stamp
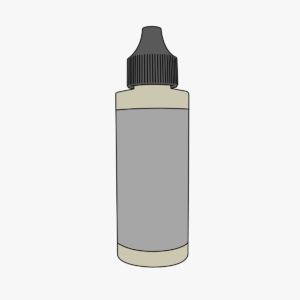
Alcohol Blending Solution
This is your second liquid ally in the alcohol ink world. Tim Holtz’s says it the best: “Alcohol Blending Solution is to alcohol ink, what water is to watercolour.” It lightens, blends and removes alcohol ink.
To achieve the lighten and blend effects on your work surface, apply it with a stamping tool that has a piece of felt. Using the stamping tool you can dab the paper or press and smear/swipe. In contrast, if you apply Alcohol Blending Solution directly to the work surface it has a similar effect as Isopropyl Alcohol. Drops onto alcohol ink will push the pigment aside creating a bleaching effect.
Tip: Alcohol Blending Solution is a must-have if you are using Alloys in your artwork. It acts as a binding agent which prevents the metallics/minerals rubbing off with touch.
Some applicator tool types:
- Pipette
- Fine-tip applicator bottle
- Measuring cup
- Felt stamp
NEVER spray Alcohol Blending Solution. It must not be inhaled.
Worksurface for Alcohol Inks
Non-porous, which are non-absorbent work surfaces are great for alcohol inks. To name a few examples, this includes:
- Synthetic paper
- Craft plastic sheets
- Tile
- Hardcore panel with a vinyl coating
- Polymer clay (raw or baked)
The most feasible/practical substrate for a Beginner to start with is Synthetic paper. It provides an opportunity to experiment and learn. Adding Alcohol Ink on Alcohol Ink on Yupo, colour will replace what is underneath.
When alcohol inks are placed onto synthetic paper with isopropyl alcohol or blending solution they can move. It is a forgiving surface that allows artists to rework and or remove most of the layers to start over. Adding Alcohol Ink on Alcohol Ink on Yupo, colour will replace what is underneath. There are a couple of synthetic paper variants, if it is Yupo there will be a faint stain leftover from alcohol inks, but if it is Craft Plastic or Nara paper then it is 100% stain-free so you can completely start from scratch with this. But both have a very smooth surface, it is a plastic texture.
Key benefits of synthetic papers:
- Tear-free
- Recyclable
- Water-resistant
Protecting your Alcohol Ink workspace
Since alcohol inks are permanent (waterproof) they will stain most surfaces they come into contact with so a craft sheet or a tempered glass mat are effective in protecting your work surface.
For many of us, the reality is we often need to take over the dining table, the office or the kitchen table in order to find a space to have fun with alcohol inks so it is definitely worth investing in at least one of these option to make sure you don’t accidentally ruin a porous surface.
Another important aspect is they can be used for mixed media so having at least one of these in your setup is going to have ongoing benefits if you want to try other mediums.
Craft mats or craft sheets
This is an ideal starting point for a beginner. These sheets are lightweight, reusable non-stick multi-purpose craft sheets that are heat resistant and easy to clean. They can be stored flat or rolled, never fold as this will cause creases and weaken the protective layer.
As a suggestion, I would recommend taping down the mat if you intend on using an air blower or a heat tool so both it and your artwork don’t fly off the table or flip over. You could use painters tape, or StickyGrid to secure the sheet.
Below are some examples of craft sheets/mats and their sizes:
- Ken Oliver The Best Ever Craft Mat 38.1cm x 42cm
- Rangers Inkssential at 38.1cm x 45.7cm
- Couture Creations Non Stick Craft Mat 33cm x 40cm
- Wendy Vecchi Make Art Non-stick Craft Sheet 23.8cm x 23.8cm
Glass Mixed Media Mats
When you feel it’s time to step it up, take it to the next level. Invest in one of these!
Below are some examples of glass mat options and their sizes:
- Tonic Studios Tempered Glass Cutting Mat 33cm x 33cm
- Tim Holtz Glass Media Mat 36cm x 59cm Right-handed
- Tim Holtz Glass Media Mat 36cm x 59cm Left-handed
- Tim Holtz Glass Media Mat (travel size) 26cm x 39cm Right-handed
- Tim Holtz Glass Media Mat (travel size) 26cm x 39cm Left-handed
- We R Memory Keepers – Precision Glass Cutting Mat 35.5cm x 35.5cm
Liquids Isopropyl Alcohol and or Alcohol Blending Solution on synthetic paper on top of a protected surface is what will help you get the most from your experience with Alcohol Inks! And hopefully knowing about these items upfront helps you to budget for the expenses you wish to try.
Working with alcohol inks is a constant surprise, each work is unique and there is beauty in all of it. If you have time, I’d suggest reading another blog post ‘Embrace brown’ or checking out our store for the beginner starter kits for alcohol ink artists.
